FIELD MANUAL

Operator selection. Boss strategies. Wave survival. Enemy priorities. Everything Blitz Command wants you to know before you deploy.

OPERATOR SELECTION

Each operator plays differently. There is no single best choice — but there is a best choice for your playstyle and skill level. Match the operator to how you like to move.
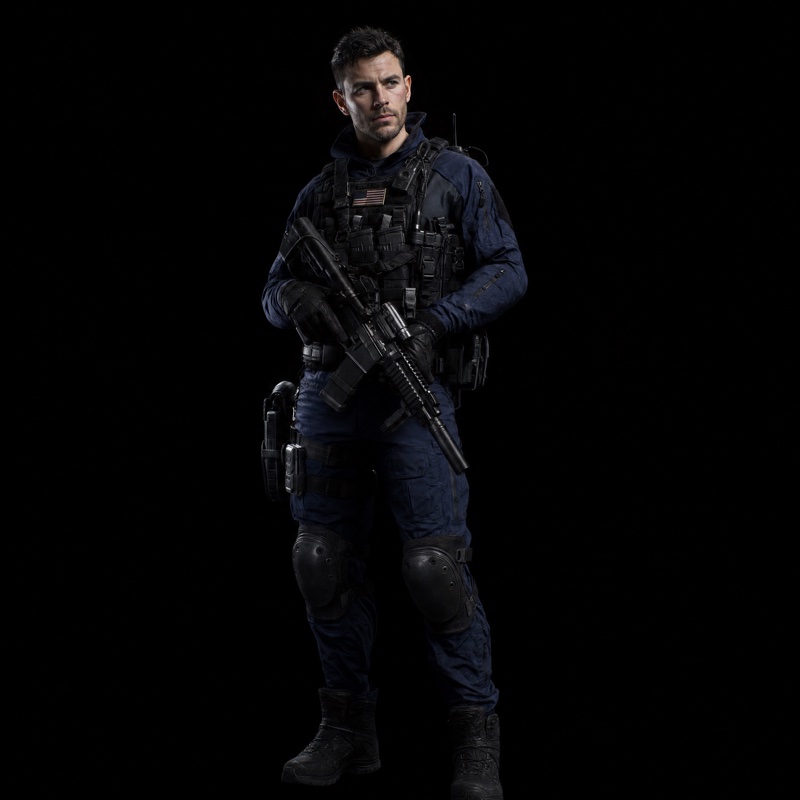
Navy SEAL — Agile Operator
▸ BEGINNER RECOMMENDED
NAVY SEAL
Special: BREACH — 3 Dash Charges
Three dash charges with fast recharge makes positioning forgiving. The Breach ability lets you sprint through enemy clusters without taking damage. Best choice if you are new to wave shooters — the margin for error is wide and the skillset is transferable.
Commando — Stealth Operative
▸ BEGINNER RECOMMENDED
COMMANDO
Special: GHOST CLOAK — Invisibility
Ghost Cloak turns panic into a tactical retreat. When you activate it, enemies lose track of you entirely. Use it the moment you are surrounded and have no escape route. Works best for defensive players who want a safety net.
Soldier — Fire Support
▸ INTERMEDIATE
SOLDIER
Special: MORTAR STRIKE — Area Denial
Mortar Strike drops artillery across a wide radius. Exceptional for crowd control — fire it into dense clusters, not at single targets. The offset targeting means practice is needed, but the payoff at higher waves is enormous.
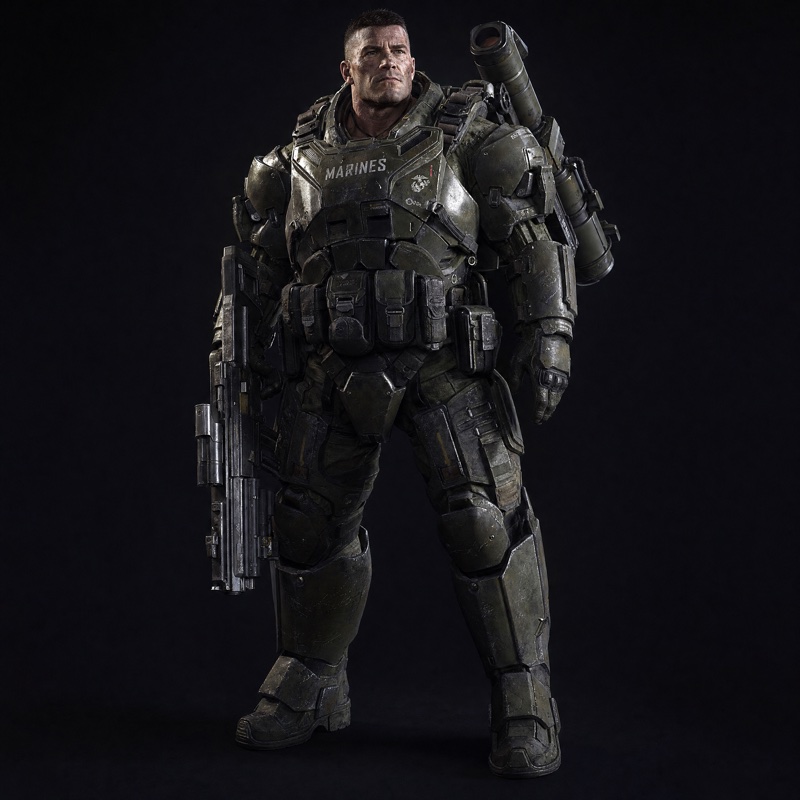
Marine — Heavy Assault
▸ INTERMEDIATE
MARINE
Special: ADRENALINE RUSH — Burst Damage
Adrenaline Rush activates a short window of massively increased damage and fire rate. Save it for boss phases or juggernaut clusters. Timing the burst is everything — active it a half-second before the boss window opens.
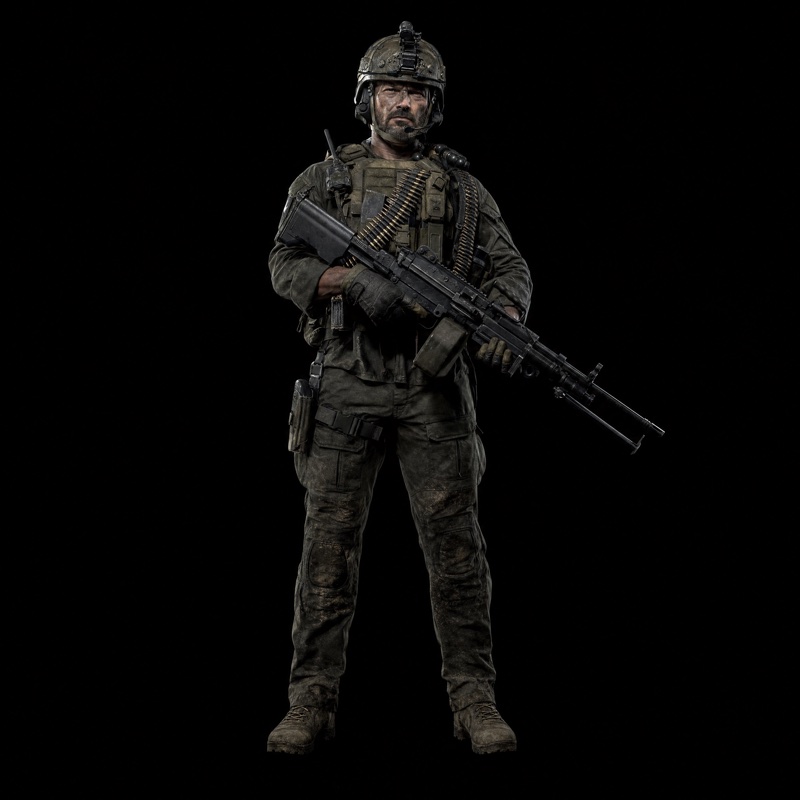
Jungle Guerrilla — Saboteur
▸ ADVANCED
JUNGLE GUERRILLA
Special: MINE FIELD — Proximity Traps
Mines require map knowledge and enemy routing to be effective. Place them on choke points before enemies arrive — not in response to them. Powerful in the right hands, frustrating until you learn enemy pathing.
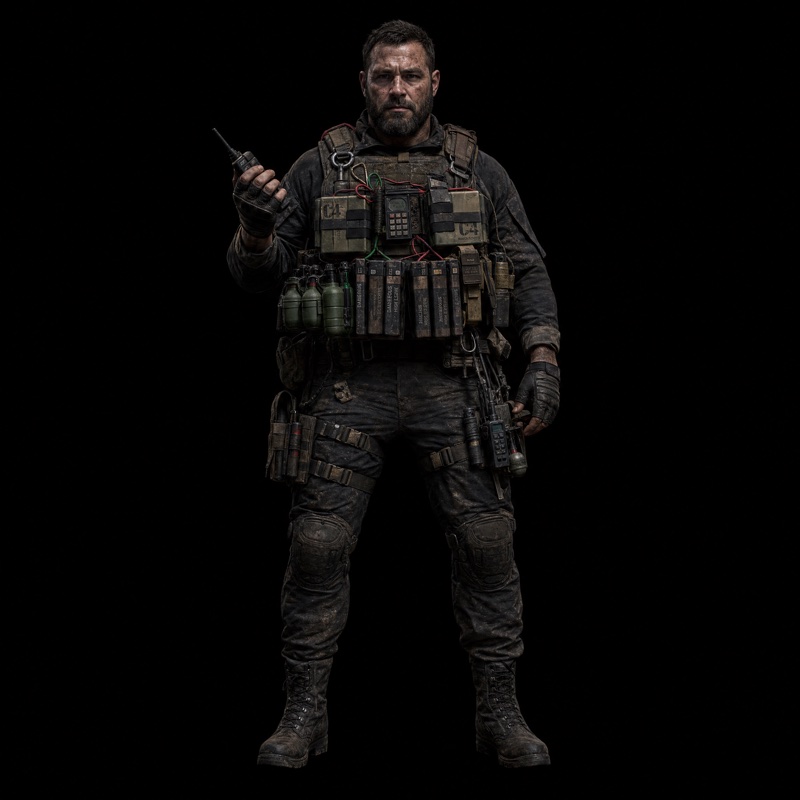
Sergeant — Demolitions Expert
▸ ADVANCED
SERGEANT
Special: IED DETONATION — Timed Explosive
Place the IED, wait for maximum enemy density, then press the ability again to detonate — the second press bypasses the cooldown. Highest damage ceiling of any operator. Difficult to execute under pressure. Rewarding once the timing is learned.

BOSS ENCOUNTERS

Ten bosses appear across 100 waves, one at every 10th wave. Each has distinct attack patterns, a designated weakness weapon, and a key mechanic that must be respected to survive. From wave 50 onward, bosses attack immediately on appearance — do not wait for them to move first.

WEAKNESS WEAPONS: Before every boss wave, the upgrade shop flags one weapon type as effective against the incoming boss. Stock up on that weapon before the wave begins. Bonus damage is significant — ignore it at your own risk.
Boss Wave Mechanic to Respect Survival Priority
TITAN The Wall 10 Shoulder charge across the arena with minimal warning. Watch the direction it faces, not where it is standing. Keep maximum distance. Use vertical or horizontal movement to dodge the charge — do not circle.
WARLORD The General 20 Activates a shield that must be broken before you can damage the boss directly. The shield has a short cooldown between activations. Save high-damage abilities for the window after the shield breaks. Do not waste ammo on the shield itself — only break it, then immediately burst.
INFERNO The Demon 30 Horizontal and vertical fire walls travel across the entire arena. Each wall has one gap wide enough to step through. Track the gap in the fire wall, not the wall itself. Move toward the gap early — last-second dashes will not work reliably.
REVENANT The Undying 40 False death at 0 HP — the Revenant revives at full HP in RAGE MODE (1.7× speed). Two Soul Anchors spawn on revival; the Revenant takes zero damage while any Anchor stands. Destroy both Soul Anchors immediately after revival — they open a 3.5-second stun window, the only frame you can damage the Revenant post-revive. Do not fire at the Revenant while Anchors are active.
DREADNOUGHT The Fortress 50 Hardened armor activates periodically, reducing incoming damage significantly. Armor permanently deactivates at 5% HP. When armor activates, switch to crowd control and keep enemies clear. Save full DPS for armor-off windows. At 5% HP, commit everything.
HARBINGER The Herald 60 6,500 HP — largest HP pool before the endgame. Dual-arm spiral cannon sweeps the full arena. Triple burst aimed at your position between rotations. Airstrike warning circles mark detonation zones before they blow. Read the spiral rotation and find the gap before committing movement. Save your operator ability for the airstrike clusters — those are the kills you cannot dodge out of without burning an ability.
PHANTOM Ghost Protocol 70 Blinks to a new position every few seconds. Tracking is difficult; attack patterns resume immediately after each blink. Fire at the destination of the blink, not the origin. Predict movement rather than chasing. Area-of-effect weapons significantly outperform single-target here.
LEVIATHAN The Breacher 80 10,000 HP. Mortar barrages (7 shells, 100 DMG each) with visible warning circles. Collapse zones seal off arena sections with sustained damage. Constant fire drops and shockwaves. Watch the mortar warning circles and move before detonation — not after. Collapse zones appear progressively; identify them early and do not back into a closing zone. Keep moving laterally.
MONARCH The Sovereign 90 Calls reinforcement waves of elite enemies during its own fight. The battlefield becomes extremely crowded. Prioritise clearing reinforcements before focusing the boss. An unchecked elite wave will kill you before the boss does. Use crowd-control weapons and your ability on enemy clusters, then return to the boss.
OVERLORD The Apocalypse 100 Multi-phase final boss. All attack patterns from previous bosses appear in sequence. No single weapon weakness — full loadout required. Enter wave 100 with full HP, maximum casings, and your Second Chance Protocol active. Treat each phase as a separate boss fight. Conserve your ability for the final APOCALYPSE phase.
VIEW FULL THREAT DATABASE →

WAVE SURVIVAL GUIDE

The game changes significantly at specific wave thresholds. What works in the opening waves will not work past wave 50. Adapt early or die late.

1–20
FOUNDATION PHASE
  • Commit to one weapon from the first upgrade. Spreading casings across multiple weapons delays your power spike significantly.
  • Learn enemy movement patterns — every standard enemy type appears by wave 15. The patterns do not change, only the volume.
  • Pick up every casing. Missed casings in the early game have an outsized impact on mid-game upgrades.
  • TITAN at wave 10 is a test of patience, not damage. Keep moving.
21–50
ESCALATION PHASE
  • Evolve your primary weapon before wave 30. An un-evolved weapon loses effectiveness rapidly as enemy HP scales.
  • Stalkers gain active camouflage in this range — track them by movement trails, not their sprites.
  • Commanders appear frequently from wave 30 onward. Kill them before they call airstrikes.
  • Enter wave 50 (DREADNOUGHT) with a backup weapon ready for armor-off burst windows.
51–80
SPECIALIST PHASE
  • Constant movement is no longer optional. Standing still for more than two seconds at this range is a death sentence.
  • Amplifiers boost nearby enemy damage and speed — identify and eliminate them immediately on spawn.
  • HARBINGER at wave 60 has the most damaging bullet hell in the game. Save operator ability for the bullet hell phase.
  • Support helicopter interval increases — do not plan around it. Treat it as a bonus, not a rescue.
81–100
ENDGAME PHASE
  • If the Second Chance Protocol is available, do not activate it early. Save it for wave 100.
  • LEVIATHAN's lightning walls at wave 80 require reading one full attack cycle before engaging. Study, then commit.
  • MONARCH at wave 90 floods the arena with elites. Do not focus the boss until elites are clear.
  • Wave 100: enter with everything maxed, full HP, and OVERLORD boss weapon stocked. This is the endgame. There is no second attempt.

ENEMY PRIORITY

Not all enemies are equal threats. Killing the wrong enemy first in a cluster is one of the most common causes of avoidable deaths. Memorise this order.

01
COMMANDER
Calls airstrikes that deal severe area damage. Always first target, no exceptions. The cooldown for a Commander's airstrike is short — if you delay, you take the hit.
02
AMPLIFIER
Buffs surrounding enemies with increased damage and movement speed. Every second an Amplifier is alive, the nearby cluster becomes significantly more dangerous. Kill it before engaging anything it is buffing.
03
MEDIC
Restores HP to nearby allies, prioritising the most wounded. Leaving a Medic alive turns any fight into a war of attrition you cannot win. Target Medics before any standard infantry.
04
STALKER
Uses active camouflage at higher waves. Nearly invisible at distance — track by the shimmer trail, not the body. Stalkers close ground fast and deal burst damage. Eliminate before they are in melee range.
05
SNIPER
Fires high-damage shots from maximum range. Capable of hitting through cover. Use constant lateral movement — Snipers lock onto where you were, not where you are going. Eliminate when you have a clear angle.
06
JUGGERNAUT
Extremely high HP, massive knockback on contact. Sniper-class weapons deal bonus damage — use them here. Do not attempt to out-run a Juggernaut in tight spaces. Create distance, then engage.
GENERAL RULE: Standard infantry (Grunts, Harvesters, Husks) are background noise. The real threats in any cluster are enemies with special roles. Killing 20 Grunts while a Commander calls two airstrikes is how you die in the middle of a wave you should have survived.

UPGRADE STRATEGY

The roguelite upgrade system has over 40 upgrades across six operator paths and eleven weapon evolution paths. Some principles remain constant regardless of operator or run.

WEAPON FIRST
COMMIT EARLY
Decide on a weapon before wave 5. Evolve it before wave 30. A fully evolved primary weapon significantly outperforms a spread of un-evolved options. The evolution paths change how weapons behave — pick the one that fits your movement style.
OPERATOR SECOND
ABILITY UPGRADES
Invest in operator upgrades after your weapon is evolved. Ability cooldown reduction and charge count upgrades pay the most consistent returns. Save the Mythic tier Second Chance Protocol for last — it requires all other upgrades to be maxed first.
BOSS WEAPON
PRE-BOSS SPEND
Before every 10th wave, buy the weakness weapon flagged in the upgrade shop and upgrade it once. You do not need to fully commit — even one or two upgrades to the correct weapon deals meaningfully more damage against the boss.
VIEW FULL UPGRADE TREE →

▸ NO DOWNLOAD — NO ACCOUNT — NO EXCUSE

YOU KNOW WHAT TO DO